
|
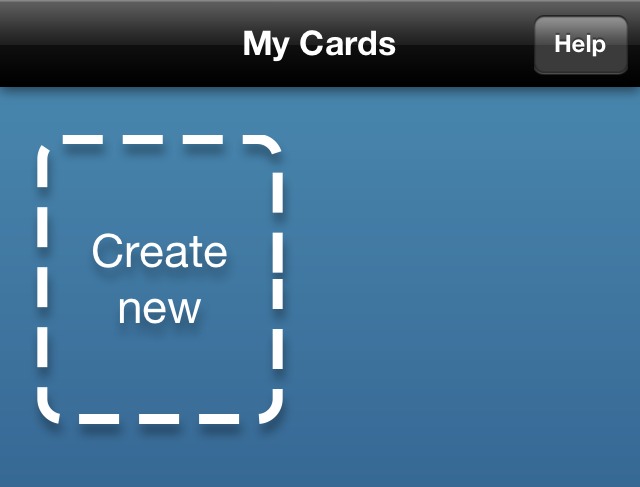
Lifecards ManualThank you for purchasing Lifecards. If you have any comments, questions or requests please write an email to us: lifecards@mexircus.com. 1. Creating a cardStart by selecting "New card" from the card list on the title screen,
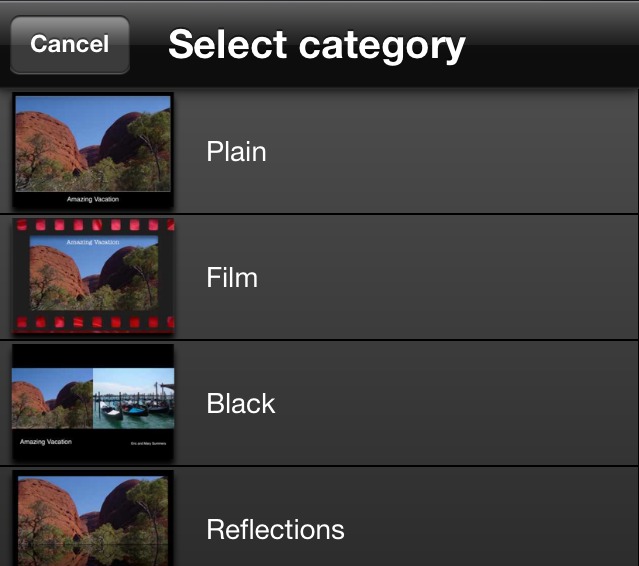
select a category from the list of themes,
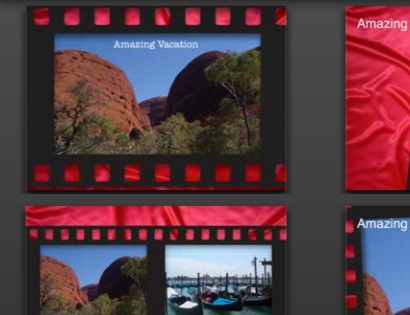
and select a template. You can easily change template and theme later.
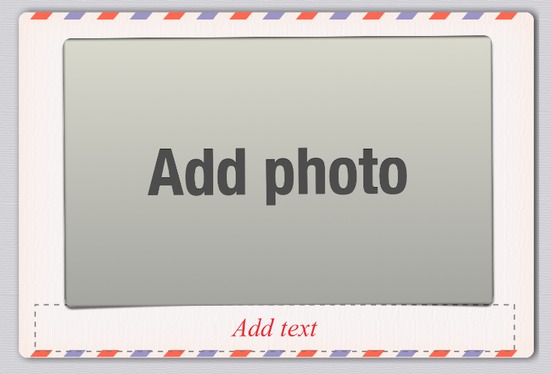
Once a template has been selected you can tap on the "Add Photo" and "Add text" areas to insert photos from your photo-album and enter long and short text messages.
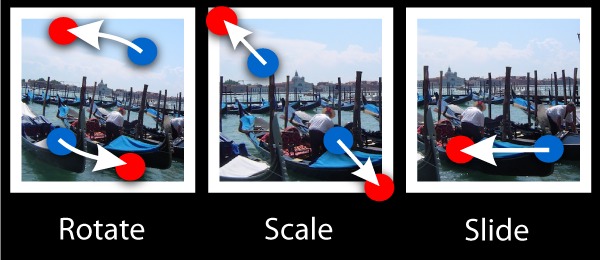
Tip: When you rotate your device Lifecards will automatically adjust to the new orientation. 2. PhotosTo insert a photo, tap on one of the "Add Photo" areas and select the photo either from your photo album, by pasting from your clipboard, or one of the other options. Photos can be positioned by dragging them on the screen with a single finger, and they can also be scaled and rotated with two fingers.
FiltersTo apply a filter to a photo tap the "Filter" button. If more than one filter is applied Lifecards will attempt to apply each filter succesively.
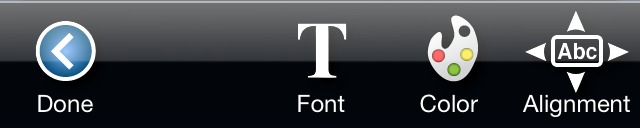
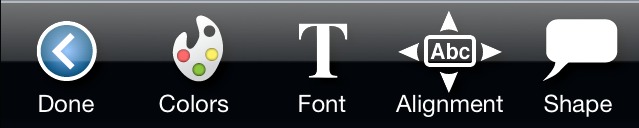
All filters can be adjusted. Applying many filters can slow down Lifecards. Select a filter and tap "remove" to remove it. FramesYou can change the frame of a photo by tapping "Frame" and selecting a frame style. You can also modify the border color and background color of the frame (for transparent photos). 3. TextYou can insert text in the areas entitled "Add Text". Once you have added the text, you may select font, alignment, size, and color for it.
To edit the text, double tap on the text again. Once you are done changing text properties simply tap "Done". You can change text properties at any given time by double tapping on the text. Tap again to edit the written words. 4. Zoom and PanYou can freely zoom and pan while you are creating your postcard. Use pinch to zoom and drag with two fingers to pan. Zoom and pan works best when nothing is selected, so use the "Done" buttons on the iPhone to unselect items first.
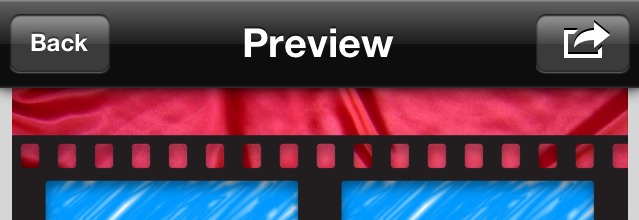
5. Sharing and emailTo email, upload, or save the card to your photo album tap "Share":
At this point a preview screen will appear and you can get a detailed look of the final card. On this screen you can zoom and pan by dragging and pinching as in the main screen.
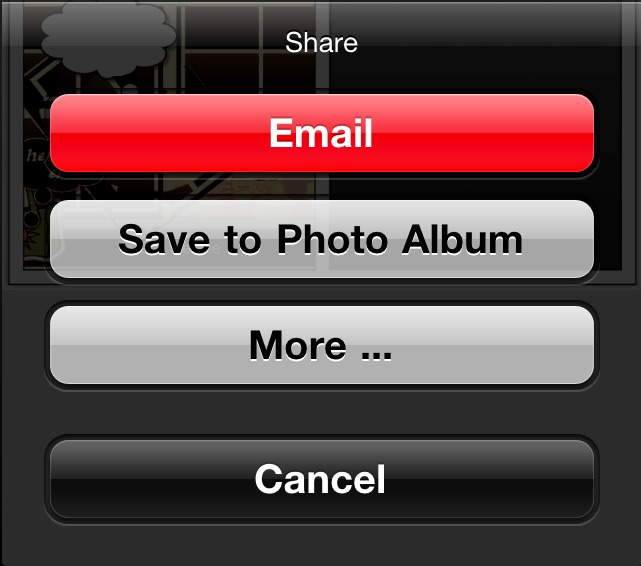
To change the card tap "Back". When you are satisfied with the card, you may tap "Share" to save the card to your photo-album or email. "More ..." will allow you to send the card in higher resolution, copy it to the clipboard, or publish the card on the web with either Facebook, Flickr or Twitter.
To email the card to a friend, select "Email" and fill in the email address and subject. The email will be put in your Outbox folder of the Mail app, and you may have to enter the Mail app to send the card. 6. SavingYour cards are automatically saved when you exit the application. To view your cards you can tap "My cards"
Swipe on the screen to select the card you would like to edit and open it by tapping on it. You can change the title of a card by tapping on it to select it, and then tapping on the title below it. Cards can be duplicated or deleted by tapping the "x2" and "trash" icons at the bottom left of the screen.
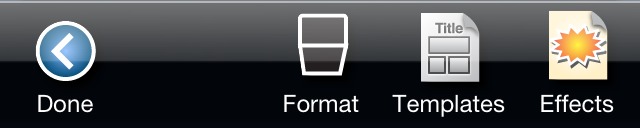
iCloudWhen you have selected a card, tap on the cloud icon to enable/disable iCloud synchronization, if you have iCloud setup on your device. 7. Changing a templateTo change the template you have selected, simply tap on the "Template" button.
At this point you can swipe on the screen to browse the different templates. Vertical swipes will change the category. Horizontal swipes will change the template within each category. Select a card by tapping "Done". You can also tap "Themes" to see a list of templates to choose from.
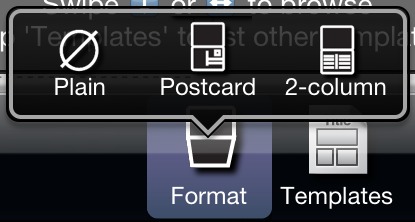
Tip: You can change the template of a card without having to reinsert photos and balloons. 8. FormatFor most templates, but not all, you can add a second page. On the second page you can add additional longer text or a back-side to your cards easily. Simply go to the template section (see 7. above), and select "Format". For landscape templates this second page is like the back of a post card. For some portrait templates the second page is like the inside of a greeting card.
9. Facebook, Flickr, and TwitterSelect "More Options" to upload the card to Facebook, Flickr, or Twitter.
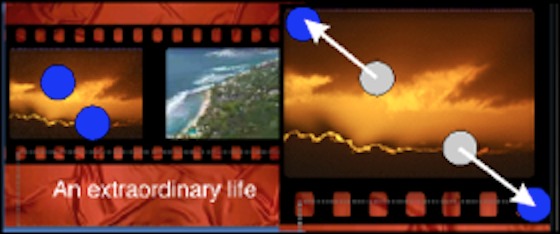
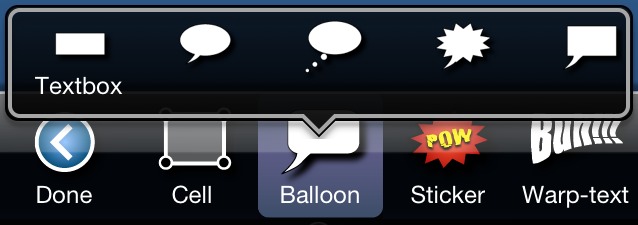
10. Speech balloonsTap the "Add" button on the bottom of the screen to add a speech balloon. Simply drag the speech balloon you wish to insert onto the screen.
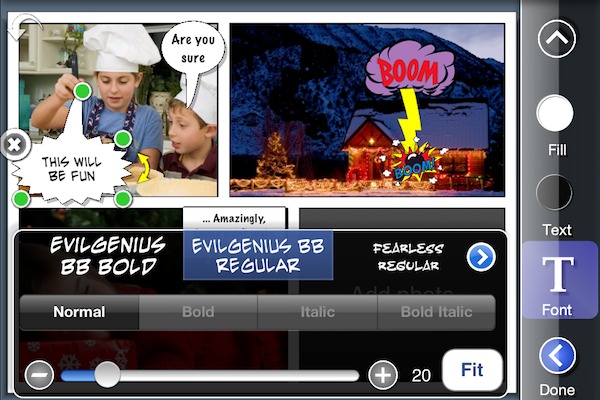
You can alter the balloon later. You may also select font, alignment, size, and colors. The "more" button reveals more options.
To edit the text double tap the text. Once you are done changing balloon properties simply tap "Done".
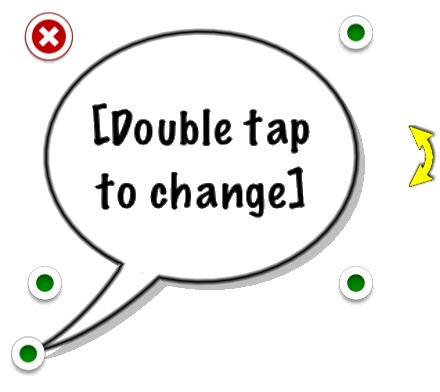
To change the balloon at a later time, tap the balloon. Drag the balloon to move it. Drag one of the green control points to change its size and its tail. Tap the delete sign to delete it. Double tap again to edit the written words. 11. StickersYou can add stickers to your card, by selecting "Add" and then "Sticker". Stickers can be moved, sized, and rotated like speech balloons. You can also change the opacity and add shadows to stickers. You can also add your own custom stickers. You will be able to mask out portions of the photos or draw on top of them. This can be useful for removing the background of a person. 12. Personal backgroundsThe "Open Background" template category will allow you to insert your own background. Tap on the background to insert a photo. 13. Higher resolution photosLifecards import photos in low resolution per default to increase the stability and speed of Lifecards. To reenable high-resolution import go to your iPhone Settings, and under Lifecards's quality settings, turn on high-res photos. Please note that this will make Lifecards slower. 14. ComicsIf you like Lifecards check out Strip Designer, which has been created specifically for creating comic strips. With Strip Designer you can enjoy a few minutes of relaxing creativity and make your own little comic strip which you can email or publish on the web.
Learn more on the app store (Tap here). 15. Thank youThank you for purchasing Lifecards. We hope you will like Lifecards as much as we enjoyed making it. Please do not hesitate to email us at lifecards@mexircus.com to help us improve Lifecards. |


Email: support@vividapps.com
Address: Weidekampsgade 23, 4 th., 2300 Kbh. S, Denmark
Vivid Apps ApS, CVR: 42482757